
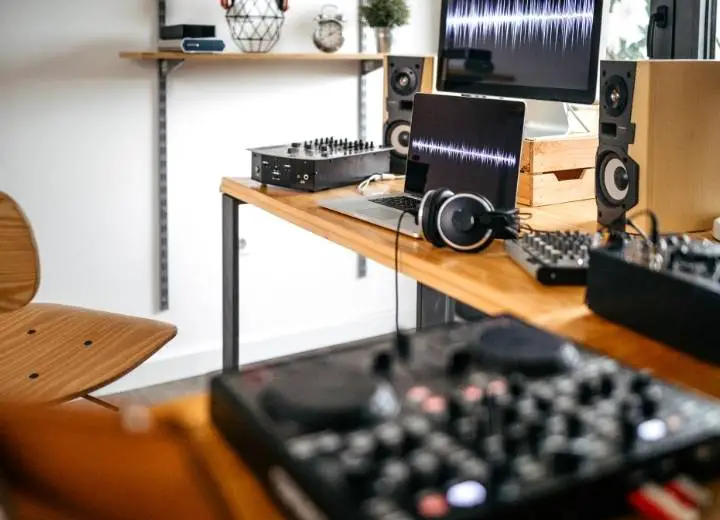
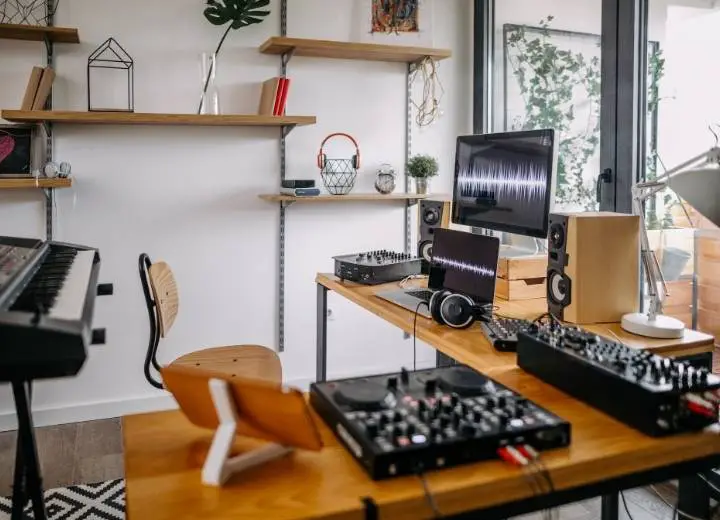
Nowadays, home studios are no longer a simple recording studio, and it is versatile. However, it’s important to keep the room tidy and clean to get the job done efficiently.
So how can you organize a home recording studio? The answer will be in the article below.
Tips To Organize A Home Recording Studio
An organized, systematic home recording studio gives you creative space. Therefore, we will share with you the best ways to organize a studio at home right now.
#1. Cable classification
A recording studio usually has many different types of cables. They can become a mess if you don’t know how to organize them.
Messy cables on the floor will cause you to trip accidentally. And this one tripping could injure you or knock over an expensive speaker.
So the first idea is that you should buy colorful stickers. And please use them to mark the function and duty of the cable.
You have noted cables. Now, attach a cable tray to the bottom of the table and let all the wires running from the speakers, computer,… neatly fixed on the tray.
This is the final step to make sure the “cable nightmare” doesn’t happen.
#2. Note the voltage and amperage on the plug
Similar to using colored stickers, you can use a pen to write voltage and amperage on the plug.
This is very beneficial if the recording studio has a lot of equipment, especially when you own various devices that are quite similar. For example, you have up to 3 different Synth Korg, but their plugs are the same.
So when you write the necessary information on the plug, you can limit the number of mistakes and save a lot of time.
#3. Use a multi-hole power outlet
For a home studio, many items require power. And you will never live in that weird house with more than 10 wall sockets in one room.
Therefore, multi-hole power outlets are essential for organizing a neat home recording studio.
We recommend mounting it behind your desk or a storage bin. And of course, you need to keep the place where the socket is mounted clean, away from conductive objects.
This will ensure your safety while working in the recording studio.
#4. Selection of keyboard stand
You won’t be productive if you have 4 synths and a large MIDI keyboard on your desk. There are also computers, keyboards, mice, etc.
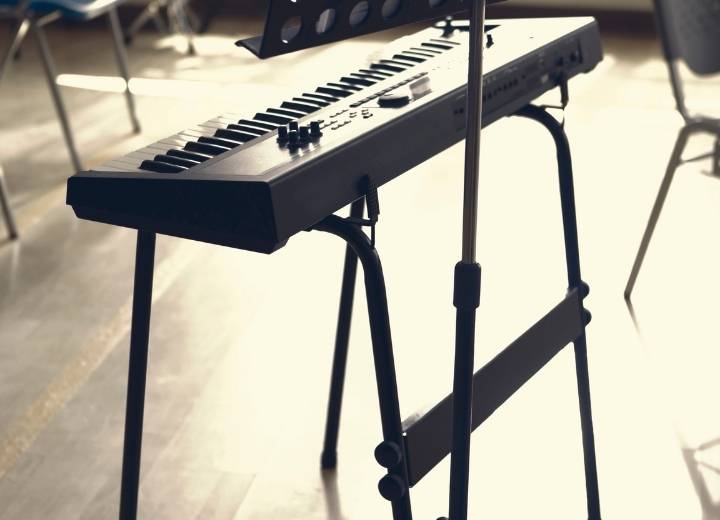
Thus, buying a keyboard stand is a necessary choice. The keyboard stand allows you to tackle clutter on your desk, providing a more professional workspace.
Besides, another way to save space is to use multi-tier racks. It doesn’t take up too much floor space but still allows you to place a keyboard or MIDI. Using multi-tier racks instead of single frames is more effective for small rooms.
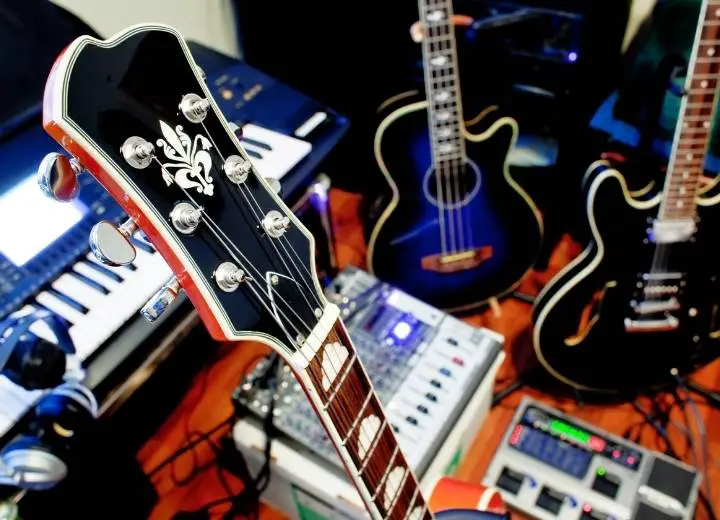
#5. Use a guitar stand
Similar to the keyboard issue we mentioned earlier. You can lean your guitar against the table or even put it on the ground.
But this will take up a certain amount of floor space and make the studio unprofessional. A guitar stand is a solution to help your office look neater and more beautiful.
If you feel the stand is not safe for your guitar. You might consider hanging it on the wall. Not only does it effectively organize the studio, but it also gives you significant floor space.
#6. Regularly clean the room
Even if you don’t walk into your room with dirty feet or bring food here, things will quickly pick up dust.
So you need to be more strict with yourself about the more frequent studio cleaning schedule.
Common Mistakes When Organizing A Home Recording Studio
To get ready to organize a home recording studio, you need to avoid these common mistakes:
#1. Place the speaker near the wall
Most home studios have fairly limited space. So many people put the speaker right next to the wall or even in the corner of the room. They think it will save space but it is not.
Placing the speaker near a wall creates a reflective surface, causing the sound to bounce back. These sounds blur your perception of sound.
Furthermore, the closer the speaker is to the wall, the less effective it is, especially in terms of bass frequencies.
Although it can improve the aesthetics of the recording studio, placing speakers near the wall will reduce your working efficiency.
So keep the speaker a few feet away from the wall. ⅓ office length is a safe distance while ensuring aesthetics.
#2. Little or no audio processor
The biggest difference between a home studio and a professional recording studio is the room.
Professional studio rooms have high ceilings, floating floors, no parallel walls. Furthermore, the designers and sound experts work together to ensure the best sound quality.
So when designing a home recording studio, you need to deal with acoustics to eliminate some problems such as no carpet on the walls, no foam ceiling, no blanket around the studio, etc.
For better sonic results, also treat the walls, especially the wall behind the speakers. In addition, for maximum sound insulation, several soundproof panels placed on the ceiling are the best option.
#3. Combine SUBWOOFER
You’ll probably love the feel of the subwoofer producing a low, impact-like sound. But using subwoofers for home studios often do more harm than good. Especially if you have neighbors, it will affect the people around you.
If you have a subwoofer installed in your studio, use it sparingly. Turn it on from time to time to test low-end device performance, but don’t leave it on all the time.
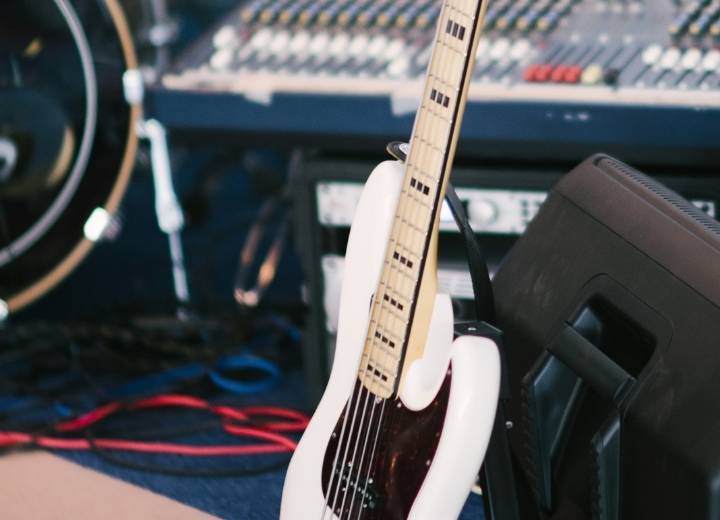
#4. Choose TS cable instead of TRS cable
The reality of setting up a studio is very expensive. Often “amateur” engineers will blow their entire budget into devices that forget the cables.
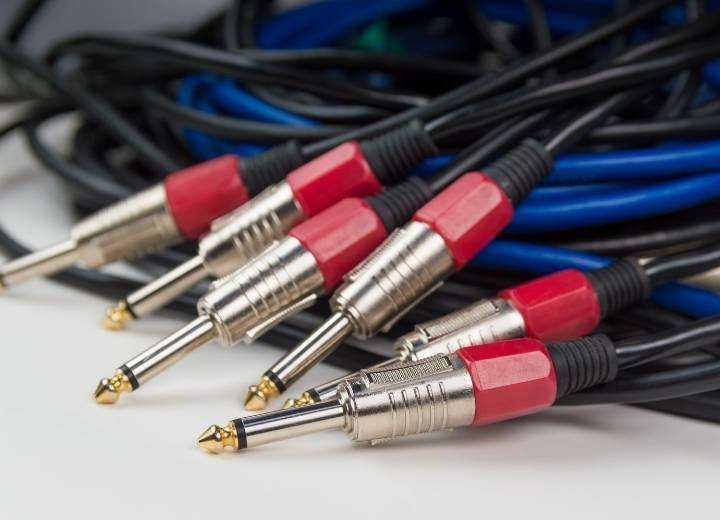
Although TS cables are usually cheaper than TRS cables. However, TS cables cause unbalanced signals like electric guitars. Therefore, using a TS cable to connect the speaker will cause interference, hissing, and hissing.
In summary, for best performance, we recommend using a TRS cable for a stable signal.
#5. No isolating speakers
The speaker produces sound using a piece of plastic that vibrates back and forth with incredible detail. Speaker vibration is the only difference between Jazz and Heavy Metal music.
Any physical interference with the speakers has a significant effect on sound quality. You can test this by placing the speaker on the table with other devices. So, you will see the sound now has quite a clear difference.
The speaker isolation pad has the effect of absorbing the vibration frequency from the desk and avoiding “sympathetic resonance”. Simply, this mattress will absorb unwanted noise.
In short, to limit the impact on the speaker, you should place the speaker on a stand and put it behind the desk. For maximum noise cancellation, use a combination of brackets and isolation pads.
Useful Tips To Keep The Studio Organized
To set up an effective home recording studio, you need to find a good chair.
There is a very common problem. Quite a few people wonder why their back hurts.
Seriously, the majority of your back pain comes from your chair. Therefore, the chair is a top priority worth your investment.
A good chair can be expensive but you will use it for a long time and limit bone and joint diseases.
#1. Place objects within reach
In your recording studio, try to keep frequently used items close to you. It’s best to keep them within reach when sitting in a chair.
Things you should keep close include a power conditioner, a computer with slots, a hard drive, a few good preamp channels, a high-quality DI guitar interface, a tuner, headphones, a monitor controller recording studio.
There’s also a mixing board (albeit mostly done), a small controller keyboard (placed under the desk), and even a guitar stand, etc.
Surely this will cause a bit of confusion around where you work. However, a reasonable, scientific layout is essential for an effective recording studio.
#2. Put some potted plants
Put some greenery in the studio. Is this a strange thing to do? Not really. Plants add a great vibe to the studio, and they help clean the air.
At night, you can put lights behind the tree to create light, increasing the aesthetics of the room. This innovative treatment can also be applied during the day.
However, if your recording studio receives natural light, there is no need.
Conclusion
Organizing a home recording studio is not simple and takes a lot of time. So to have an effective working space, you need to carefully learn what to prepare and set up a neat and reasonable recording studio.
Hope our article about this topic “how to organize your recording studio” will help you gain more knowledge to create a professional home studio studio.