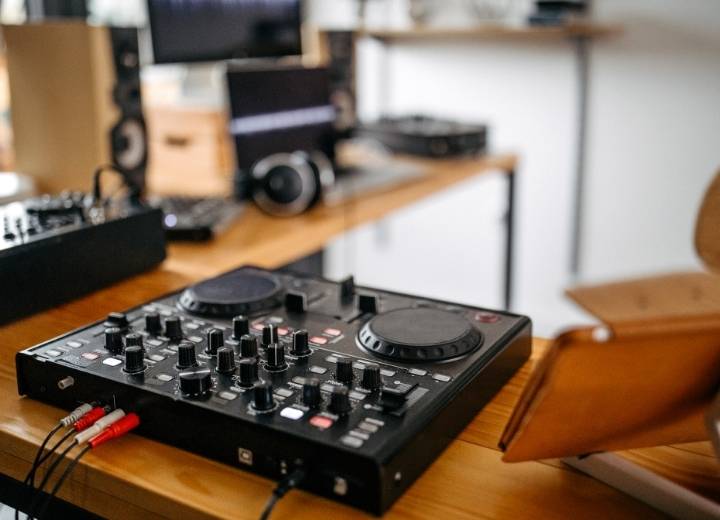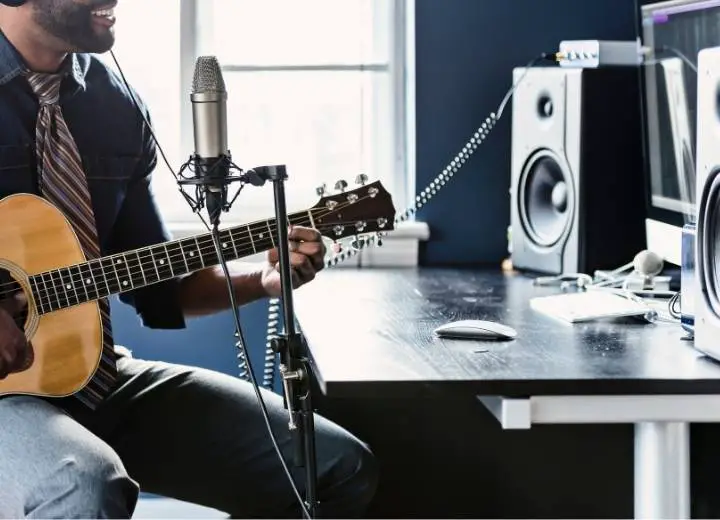
To have a good recording, the best way is to record in a studio. Normally, a home recording will not be as high-quality as a studio recording.
However, you can make your home recording sound more professional. Today let’s check out some useful tips to make your home recording sound pro!
How to make your home recording sound like studio?
There are 7 tips you can use to improve the quality of your home recording.
- Improve your recording space
- Use a solid mic chain
- Remove the noisy equipment
- Use closed-back headphones for recording
- Correlate the meter to your ears
- Get your microphone in the right position and levels
- Have good preparation before recording
Now let’s check out the details of each tip.
1. Improve your recording space
Your recording room determines up to 40% of your recording’s quality. So, to make the recording sound more professional, you should improve your recording space.
An empty room also affects the recordings’ quality. You can place some furniture in the room to reduce the reverb. Adding some acoustic treatments also helps improve the recordings.
You can also use blankets, mattresses, and pillows to build a vocal booth. These items are good at absorbing sounds. They can prevent sound reflections or echoes that can ruin your recordings.
2. Use a solid mic chain
The microphone is very important in vocal recording. The microphone quality will affect the sounds.
Thus, you should choose a dynamic or condenser microphone when recording at home. These microphones are great for vocals as well as acoustic recording.
3. Remove the noisy equipment
Noise can ruin your recordings. So, turn off all the noisy devices like air-conditioners, fans, or heating devices. Close all the doors and windows to prevent outdoor noise.
If possible, you can invest in making soundproof doors, windows, and walls for your room. Besides, put your mic far away from your computer fan.
4. Use closed-back headphones for recording
Open-back headphones are good for mixing, but not good for recordings. The sound leakage from the open earcups can affect your recordings. Thus, always use closed-back headphones for recording.
Closed-back headphones will provide you flat frequency response. You will hear exactly what you should hear. Choose closed-back headphones of good quality, because you have to use them a lot.
5. Correlate the meter to your ears
A meter will be useful to give you visual indications and the situation of the signal. You can use the meter on your preamp, interface, or converter. If you don’t have these devices, you can buy a meter and connect it with your DAW.
The more important thing is that you should know how to correlate the meter with what you hear.
The meter can let you know the time you reach the sweet spots. So, when recording, watch the meter to ensure that you are still in the zone.
6. Get your microphone in the right position and levels
The common space between the mouth and the capsule of the mic is 6 to 12 inches. Make sure that the mic diaphragm faces your lips. You can move the mic closer or farther to get the best sound for your track.
Besides, you should use a pop filter. This accessory is not expensive and it’s very useful at preventing plosives. You can also make a pop filter yourself from a sock and a wire hanger.
The mic should also be at the right levels. After warming up the mic, check the level in the preamp and on the DAW. Vocals must not reach the red color to avoid “clipping” or “peaking”.
7. Have good preparation before recording
You should keep a fresh mind before recording to have the best result. Remember to sing the song several times before going into detailed spots. Always keep yourself relaxed while recording.
If you don’t satisfy with your performance after trying several times, take a break. You can start again when you feel comfortable.
How to make a live recording sound like a studio?
Live recordings usually have problems with mic bleed. To make them sound like studio recordings, you have to know how to mix them.

Below are the tips when mixing live recordings that can make them better.
1. Take advantage of noise bleed
Noise bleed is one of the main factors that ruin your recordings. But it is difficult to completely prevent noise bleed. So, you can take advantage of it instead of trying to get rid of it.
If a good tone is in the wrong mic, don’t rush to dismiss it. You can change the mic depending on the quality of sound.
For example, if the snare mic makes the guitar sound better, use it. Or you can use the vocal mic for the snare if it sounds good.
2. Automation is good
To make an instrument more consistent, people usually use a compressor in live recordings. But the downside of a compressor is that it will make more noise bleed. So, the more consistent the vocal gets, the louder the bleed is.
The solution to this problem is automation. Automating the volume while combining through the vocal take will stabilize the levels and minimize the bleed.
3. Use subtractive EQ instead of additive EQ
In a live recording, adding highs to a vocal can cause a brittle hi-hat. Because, when you boost a frequency on one channel, the bleed can affect many instruments.
So, in this case, it’s better to use subtractive EQ.
4. Use multiband compression properly
Multiband compression can be a good solution for excessive EQ in a mix. By using compression, you can reduce the dynamic range of a set of frequencies.
However, using a compressor also makes the bleed more prominent. So, don’t overuse it.
5. Avoid phase cancellation
In a live recording, there are many sound sources delivered through open microphones. So, you should avoid phase cancellation. This will prevent unnecessarily weak and thin sounds and odd tonal centers.
People usually recording drums with mics around. You should arrange the mic’s position properly to solidify your mix and avoid weak sounds.
6. Set microphones and instruments to minimize noise bleed
When live recording, it’s better to track with the drums, amps, and vocalists in separate rooms. But sometimes space doesn’t allow you to isolate the amp from the kit. In that case, place them as far from each other as possible.
Don’t point the amp to the drum kit. You can use anything you have such as a blanket or baffles to minimize the noise bleed.
You should also pay attention to the volume. Set the volume of the amp lower than the volume of the drum kit. Use a close mic to capture the amp, and keep the drum bleed at the smallest level.
7. Use cardioid microphones for close mics and monitoring carefully
Live recording performances often use the close-mic technique. You should use cardioid microphones for this technique. These mics can reject unwanted noise bleed.
When recording, you should wear headphones or in-ear monitors. But sometimes the noise from the stage monitor can bother you. So, always keep the amps’ volume at a minimum level.
8. Use DIs with re-amping
During live recording, capturing guitars and keyboards via DI boxes can help reduce noise bleed. The tone from a DI box will be different from that of an amp. But with the help of a DI box, the musicians can be in the same place without bleed.
You can re-amp the direct signals later to capture the sound of an isolated amp. Besides, amp simulator plugins are also useful. It can help you achieve classic amp tones when reamping in the box.
9. Be cautious when using reverb and delay
Reverb and delay show the essence of a live recording. But you must be cautious when adding reverb to the mix.
To use the reverb properly, first, you should find a reverb matching the recording’s environment. Don’t add reverb into a session tracked in your living room. That will make the listeners disorienting.
10. Crowd mics
Engineers use crowd mics to capture the sound of audiences. This is an integral part of the live recording of a concert. But to make live recordings sound like studio recordings, you have to take care of them well.
The best solution is minimizing the sound level of the PA and room. This will help you get enough reverb for the track but still reinforce its live vibe.
Final Thoughts
Above are some useful tips to make your home recording and live recording sound more professional. Making your recordings better is not difficult, but it will take your time and effort.
We hope that with these useful tips, you will be satisfied with your recordings!
