
There are nine must-have items for a home recording studio: audio interface, microphone, microphone cable, microphone stand, pop filter, headphone, monitoring speaker, computer, and acoustic treatment.
Some musicians skip the acoustic treatment since they can mix on their headphones.
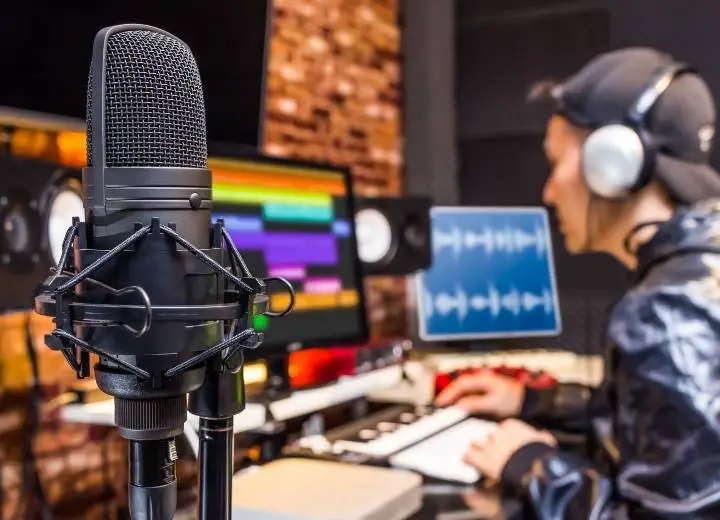
You may start obtaining sound work from the comfort of home with just these digital recording studio tools.
What Equipment Do I Need For A Recording Studio?
You can make a recording studio at home. Let’s take a closer look at each piece of required equipment.
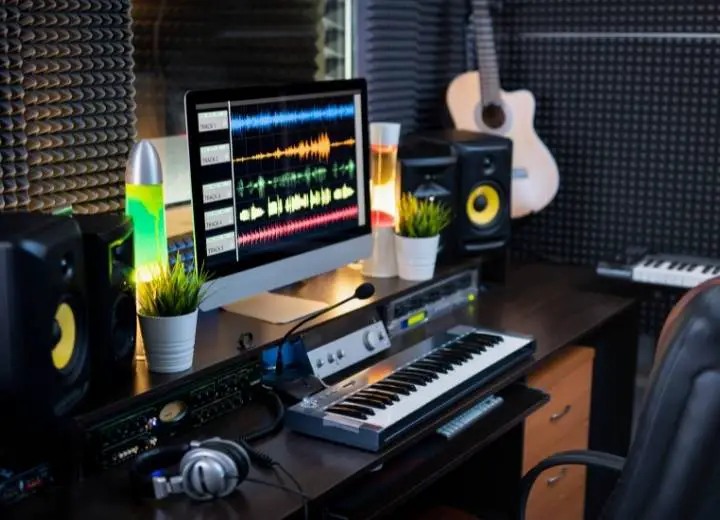
Prepare equipment for your home recording studio carefully
#1. Audio interface
The majority of individuals opted for a USB audio interface. The microphone may be able to connect to your computer thanks to the interface. Linking to headphones or speakers is also possible.
The Focusrite or NI Komplete Audio interfaces are the best solutions for your budget for a novice.
You will need a bigger interface if you require additional channels.
You may wish to update to something with stronger preamps and converters in the future. When you are ready to upgrade, try out the Apollo models.
#2. Microphone
You will accumulate a collection of countless microphones over time. Each serves a specific purpose.
For the time being, all you need is one or two to begin.
And the ones you pick will depend on the instruments you intend to record.
The majority of individuals begin by recording only voices. Hence, we recommend the cardioid microphone.
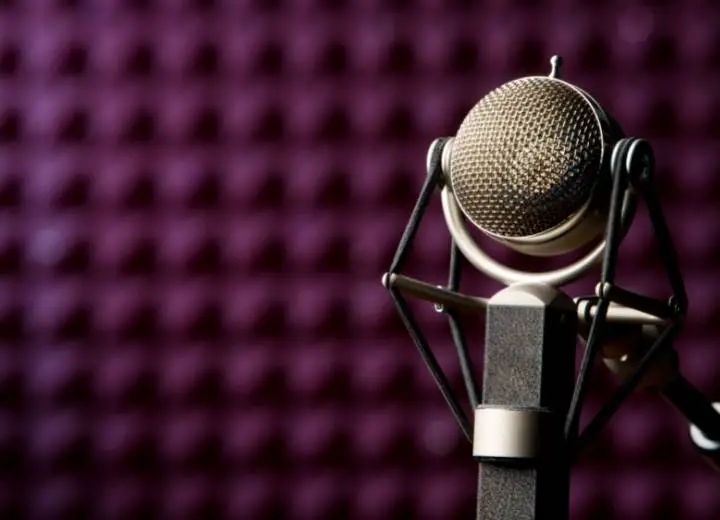
Cardioid condenser microphone
When recording at home, you should use cardioid microphones wherever possible. They block sound from the back, making them ideal for less-than-ideal settings.
A big transparency microphone is an ideal choice for your music studio.
When it comes to recording microphones, sE Electronics is popular. It’s a great condenser mic that also works well as a general music speaker and a vocalist mic.
#3. Microphone cable
Don’t blow your budget here. It doesn’t matter if the cable works or not. All you need is an equitable XLR cable.
With additions, the middle ground is typically ideal.
Don’t go for the most costly choice. However, neither should you go for the cheapest. You wish things that would last a long time, right?
#4. Microphone stand
Many newcomers believe that all microphone stands are the same. This is not the case.
A sturdy mic stand is one of the most valuable purchases a new home studio can take.
Mic stands, on the other hand, can be costly. Meanwhile, beginners are on a restricted budget. If you are starting, an inexpensive, dependable stand will suffice.
#5. Pop filter
The objective of the pop filter (apart from looking great) is to remove an annoying voice artifact.
The filter is inexpensive and effective. And many newcomers believe they need one.
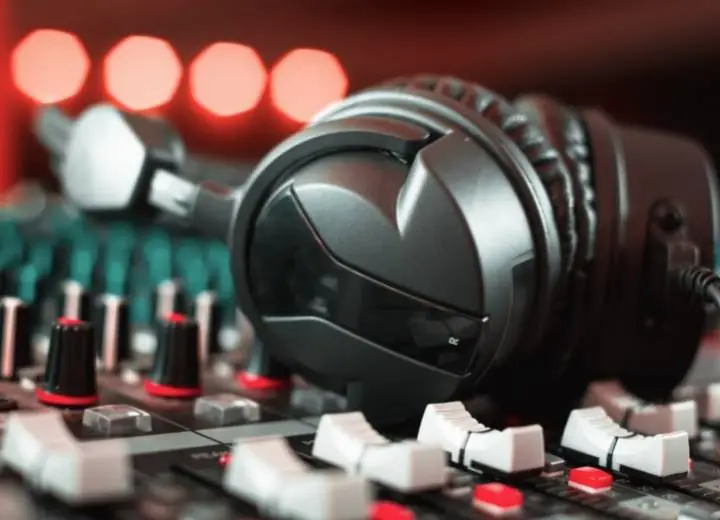
#6. Headphone
In the beginning, you will spend the majority of your time recording on your own. All you will need is a single set of headphones.
There are two extremely particular designs for studio uses:
- Tracking headphones with a closed-back provide the best isolation at the price of sound quality.
- Mixing headphones with an open back provide the best sound quality at the price of isolation.
Closed back vs open back headphones
The first headphones are a requirement for a small recording studio setup. On the other hand, the latter seems to be luxurious.
Regular headphone cords are usually too short. We also suggest an extension cable to go with your headphones.
We recommend buying the finest cable you can get for this line. The lesser ones have terrible signal issues due to the frequent movement.
#7. Speaker
Numerous home producers now use open-back headphones for most of their mixing. You can do the same but after a lot of practice.
The speakers, on the other hand, have typically done the mixing jobs.
Consumer speakers often come with a variety of tonal improvements. Meanwhile, studio monitors offer a considerably flatter frequency response. They allow you to objectively assess your mix with a more neutral, unshaded sound.
While they might be costly, there are still lots of low-cost choices for novices.
#8. Computer
When it comes to building a studio from the ground up, a computer is the most expensive item.
Fortunately, almost everyone nowadays has access to a computer of some kind. And almost any computer will be quick enough to get you started.
#9. Acoustic treatment
Acoustic treatments are pieces of foam or fiberglass. They absorb the studio’s natural resonance.
When editing and recording, you want to choose a space that is as neutral as possible. As a consequence, the sound of your little home studio will not affect your results.
Fiberglass panels are the top choices. You can save costs and produce high-quality sound at the same time.
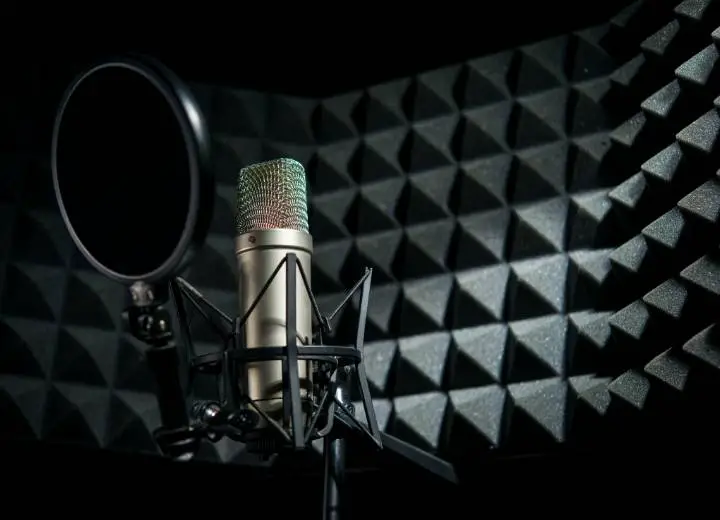
Foam acoustic treatment
How To Set Up The Room?
Your music endeavors will be ten times simpler if you set the space correctly.
When picking a room, there are five important factors to consider:
#1. The size
You’d better avoid small rooms. They are an acoustic disaster.
The more space you have, the better sound quality is. Plus, there must be greater room for recording.
#2. The dimensions
Ignore rooms having the same width and length measurements. If the room is a perfect square, avoid it at all costs. This causes massive standing waves to form.
#3. The interior surfaces
Avoid rooms that have a lot of reflecting, hard surfaces.
The worst spot for a home recording studio must be the kitchen.
A room with a floor-to-ceiling window or a full-length mirror would be a poor option too.
A concrete floor is also an extremely poor choice. Please skip it!
Wooden floors are preferable to carpet because carpet absorbs only high frequencies. Hence, it makes the room sound blurred.
Besides, windows, bare concrete, mirrors, marble, and other similar surfaces are extremely problematic.
#4. The ceiling elevation
Vertical rays will become considerably more of a concern if the roof is too low.
A heavy reflection from the ceiling might create comb filtering. This is unacceptable for recording voices.
When it comes to mixing, a low ceiling may be just as damaging.
#5. The volume of noise
It is best to choose a quiet room. You need to pay lots of attention to your projects, don’t you?
How To Place The Monitors?
You must ensure that your room is well organized. It is simpler to begin with a blank canvas. This provides you with a blank space on which to create.
The position of the speakers is the most important factor to consider when planning the layout of your space.
While you are recording, you’re on the move. The microphone may move around the room.
However, once you have placed your speakers, they are going to stay put.
Here are some tips for setting up your studio.
#1. Position the speakers
Bass ports may lie on the rear of many monitor speakers. They will not operate correctly if you put them back up against a wall.
The shortest distance between the wall and the speaker will depend on the manufacturer’s standards.
Contrary to common perception, placing your speakers a foot or two outward does not necessarily result in a more evenly distributed bass response.
It can be harmful in some cases. The bass buildup might cause greater problems than the reflections from the wall.
To address the problem, place your speakers as close to the wall as possible. Lower the bass on your devices if possible.
Speakers’ position is important
#2. The distance between the front and side walls ought to be different
Standing waves can form if the distances are equal. Certain low-frequency sounds may look much louder than they are.
Place the speakers all along the wall with the longest length
This is only true if you have greater space.
The goal here is to lower the level of the initial speaker echoes into your ears.
Comb filtering and a variety of other problems can result from strong reflections. These are coming from the speakers’ immediate right and left walls.
You do not need to be aware of all the intricacies. The initial reflections are quite troublesome.
You may move the reflective spot away from the speakers by placing them along the longest wall. Because they must now move further before approaching your ears, their loudness is lower.
It is preferable to place the speakers in the wall center to preserve a balanced stereo picture.
Avoid some listening positions
You’d better avoid putting yourself in a listening position that is halfway all around the room.
This only pertains to the room’s length. It also implies the space between the floor to the ceiling.
You will notice a notable loss of bass if your head is midway between the front and rear walls.
Remember to consider the floor, ceiling, and walls in addition to the walls.
How To Handle Your Room For Recording
Compromises are necessary while working in a home recording studio. These suggestions will make your job simpler.
#1. Utilize movable panels
If the panels you create or buy are movable, you can configure them to meet specific recording needs.
A voice booth, for example, might work well with three panels arranged in a triangle.
#2. Divide the space into two parts
You may use one half for mixing. Install absorber panels at the speakers’ initial reflection spots.
Then, without absorption, leave the other half of the room alive.
#3. Avoid foam
In a home recording studio, the foam does have a role. It is beneficial in the treatment of high frequencies.
Foam, however, will never be able to handle the whole frequency range. It cannot handle the low end, which is where you need it the most.
#4. Make the room lively
Rather than a space with a lot of absorption, this indicates a room with more diffusive or reflecting surfaces.
Just be cautious not to over-treat your space while you’re trying to achieve the right balance.
Another thing to remember is to avoid carpeting the ceilings and walls.
Conclusion
Now you may have the answer to the question, “What do I need for a home recording studio?”. Aside from the essential items, you should pay attention to setting your studio. Once you do the tasks right, you can release high-quality products.
If you need any further information, please let us know. We are always willing to assist you.
Hopefully, you find this article helpful. Thank you for reading!