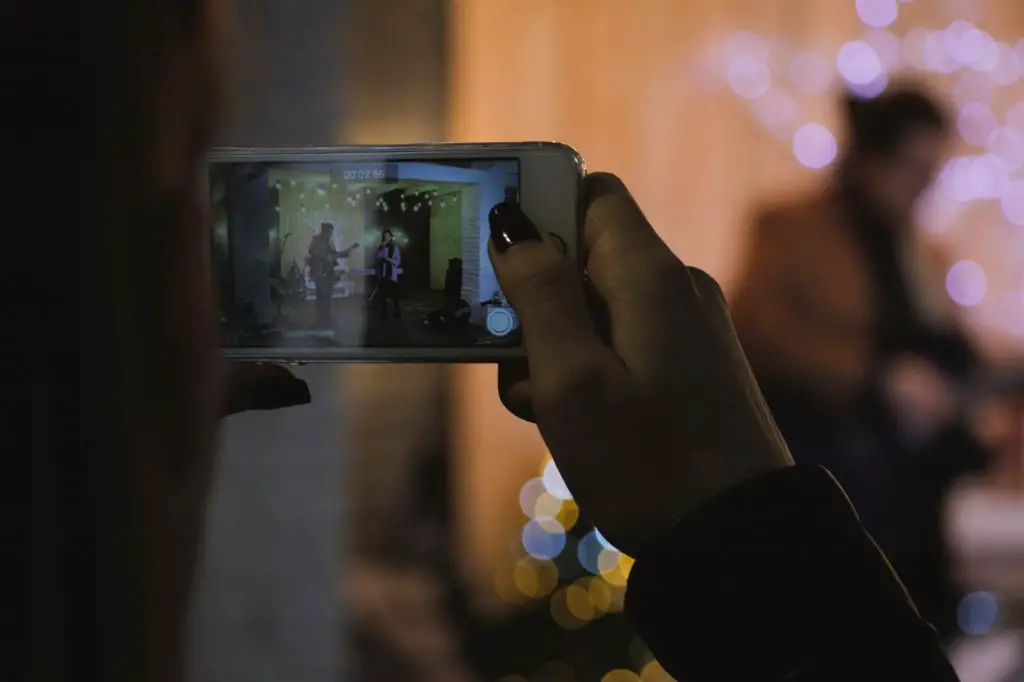
It’s not easy to produce a high quality video with a smartphone. But it’s possible. You can do it if you know the right methods.
Check out the below top 5 tips to have a great video shooting from your mobile device:
1. Shoot horizontal, not upright:
Although Instagram and Snapchat seem to encourage users to create more portrait or vertically-oriented footage, you should avoid it if you want to have a professional video.
People usually assume that videos recorded in a vertical direction is way too amateur. Horizontal shooting is always the best because it fits various types of screen, whether it’s a TV, iPad or smartphone, etc.
Reading more: 5 Mistakes of travel-filmmaking beginners
In case you want to upload your products on Youtube, it’s much more necessary to record it horizontally. Imagine, your viewers must be really annoyed when looking at the videos with a lot of black empty space on the sides.
So, start from the most basic thing! Shoot horizontally!
2. Use mobile video recording apps:
Unless your mobile device is one of the most modern smartphones in the high-technology market, you can’t just rely on its available camera, because the plain camera will not bring any attraction to your products.

In the society that all people want to share every single moment of their lives on Facebook, video recording apps seem to be indispensable.
Currently, there are thousands of applications available for both Android and iOS devices, so you’re gonna have a wide range of options. Most of them have more features than you might think, allowing you to adjust the parameters like a professional filmmaking camera.
Below are some good recommendations if you’re confused about what you should invest in:
- Movie Pro
- Filmic Pro
- Mavis Camera App
- ProMovie Recorder
- Cinema FV-5
Of course, if you are a beginner, maybe you will find it a bit difficult and complicated to understand how to use all the functions of those apps, since several high-ranking apps are more suitable for professional filmmakers (like Flimic Pro).
However, if you’re really passionate about video making, you will soon learn enough knowledge to take their whole advantage.
One more thing is that those video recording apps are easy to purchase. They only cost from $5 to $20, so it’s still on budget to many people. You will see they’re totally worth those money!
3. Pay attention to audio:
A powerful video is a video which meets the standard in not only its image but also in audio. Bad audio can ruin a great piece of video because viewers won’t be able to understand what the speaker says, unless it’s just a plain landscape shooting.
All smartphones have their own built-in microphones. However, they are usually both low quality and improperly placed. Your video will easily catch wind and unnecessary environmental noise, distracting viewers from the main subject.
You should remember: just because your smartphone can record your voice decently in a quiet room, it doesn’t mean that it will absolutely work well during an outdoor shooting.
That’s why you had better invest in some external microphones or extra audio recorder. You should have a good shotgun mic and a best lavalier microphone for your smartphone. There would be many options for you, just need to choose something on your budget.
If you can’t afford to buy external devices or if you just don’t want to spend money on it, there’s a tip for you: stay as close to the audio source as possible.
You can also try covering around the phone’s microphone by your hand (but don’t completely cover it). That will help to reduce unwanted noise, creating a better audio.
4. Focus on lighting:
Like taking photos, light is also the most important factors deciding the quality of the video. You need to know some tricks to deal with the natural light direction so that the image of your video can be enhanced and look better.
Smartphone cameras usually have smaller image sensors and lenses. That’s why you should do the record in bright areas to avoid unnecessary shadows and grainy areas in your video.
However, you must remember not to point the camera directly at bright light sources because it will cause overexposed footage and lens flaring.
To have a good video, light sources must always be stable and steady during the whole shooting period. If you want to ensure this, you can prepare external lights and wisely work with the white balance settings in your phone or app.
Currently, there are many LED light brands for you to choose. You can start off with Neewer, VidPro K120, or Manfrotto Spectra 500S, etc.
5. Stay steady:
Last but not least, you must keep your phone always stable for a better video quality. Of course, your phone is already very light, but you won’t be able to avoid small movements sometimes.
Tip for you is to use both hands, and lock your elbows into your body for extra stability. That will help to reduce the effects caused by shaky hands, making the image more stable.
If you don’t want to keep the phone with your hands, you can buy some supporting tools like stabilizers, tripods and camera cages.
They have perfect handles to help you hold your phone’s camera in a fixed place. Or you can also rest your phone on other physical supports like tables, chairs, desks, and shelves if those supporting tools are not on your budget.
