
For years, I love wandering around YouTube for great songs by other DIY artists. And I realize that the misunderstanding of people about DIY recording does exist.
You can see it briefly in the picture below:
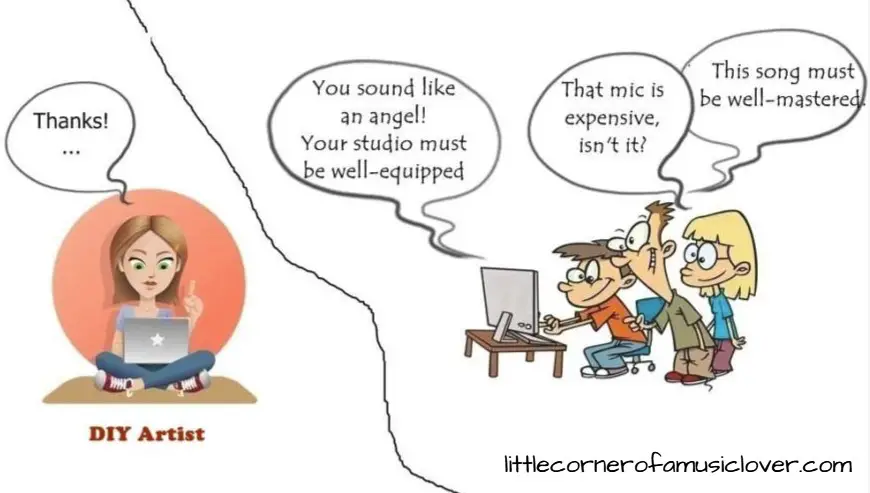
Okay, maybe that’s not the exact words, but that’s exactly what some people think when they’re watching DIY videos.
They believe that someone’s voice is so great mostly thanks to the expensive equipment in his/her home recording studio, the mixing, and the mastering.
Well… Do you think so?
If you say “yes”, the 5 vocal recording tips in home recording studio below can both blow your mind and change your video’s quality.
Trust me!
In this post, expensive equipment or the post-production aren’t the keys to making a vocal recording great.
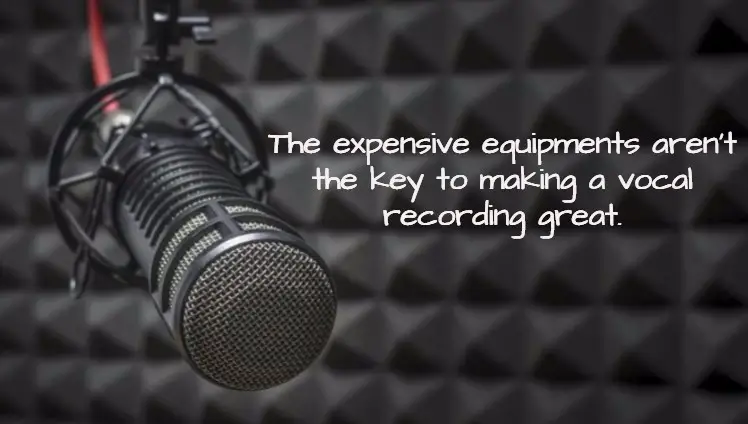
You can definitely make an awesome vocal recording at home with basic and cheap elements by using these tips.
I need to emphasize that because without sincere advice from someone experienced, you would waste your money on expensive equipment unnecessarily.
Or you don’t know basic essentials for your vocal recording session at home.
Let’s get started!
#1. Choose the right mic for your vocal recording
Choose the best/right mics for vocal recording can be a challenge if you don’t know about this basic concept: microphone’s directional response and sensitivity.
There are two main categories that most mics fall into: omnidirectional and unidirectional.
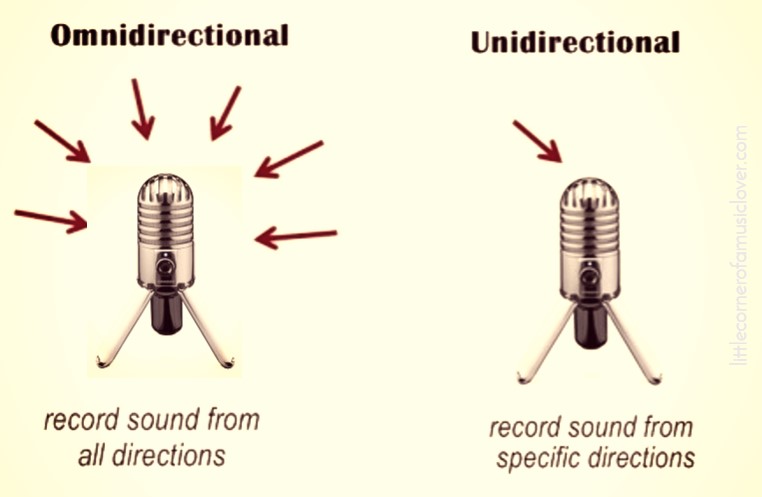
Omnidirectional microphones are designed to be equally sensitive to sound regardless of which directions sound comes from.
What does this mean?
These mics are great for picking up a group of people or an overall room sound. Due to this characteristic, omnidirectional microphones also record a lot of background noise.
Yes, if you are guessing that they don’t fit for personal vocal recording, you’re right!
Unlike omnidirectional mics, unidirectional mics are designed to be more sensitive to sound coming from specific directions.
The most common patterns that fall under this category are bi-directional, cardioid, hyper-cardioid, super-cardioid, and lobar.
Sound too complicated? Honestly, I did find it complicated from the start too.
Just bear in mind that unidirectional mics, particularly cardioid, are the very first thing you want to have when building a home recording studio. It’s the most popular mics for DIY recording.
3 years ago when I started to follow my vocal recording passion, I chose this unidirectional mic: CAD U37 USB Studio Condenser.
No products found.
Now even when I’ve experienced a lot of mics in the higher range and looking back, it was still one of the best investments I ever made. It’s quite cheap and the sound is amazing.
If money isn’t the object to you, I highly recommend these 2 other unidirectional mics that I use for recording my own vocal in my home studio: Blue Snowball USB Microphone or Blue Yeti USB Microphone.
Their prices are reasonable, and their directional response and sensitivity are ideal for both greenhorns and experienced people.
#2. Care enough for mic performance technique – Here why!
Straight to the point, mic performance technique can make a huge difference when recording your vocal at home.
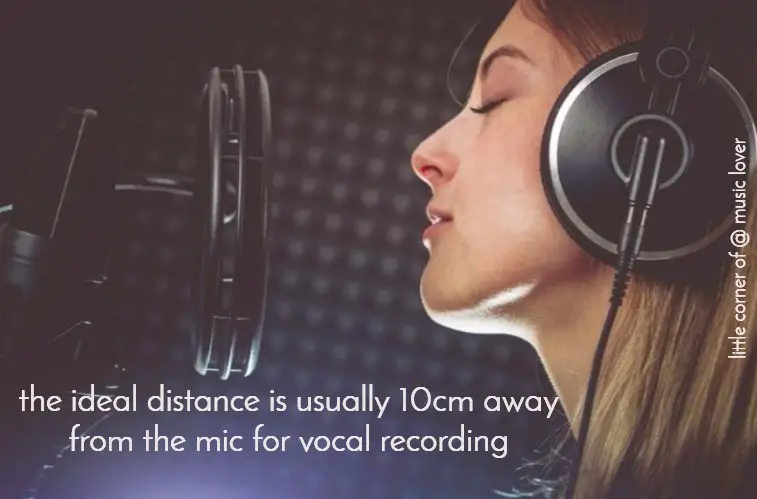
What a pity if you’ve never asked yourself this question when you are in front of the mic: “Where is the best place to stand in order to get the proper sound?”
As a good basic rule of thumb, the ideal distance is usually 10 cm away from the mic.
Have you ever seen people on TV holding their mic as if they’re going to eat it? Well, I can’t stop laughing whenever I see that scene. It may look cool, but it’s bad for recording.
Remember your mouth need space for the sound to come out. And your mic needs space to be well-responsive to the sound too.
So never try to touch or wrap your hand and lips around the top of the mic unless you want to create a muffled sound or you want to look cool like a rapper on the stage.
There’s definitely no need to act like that in your home recording studio!
One of the best ways to keep the proper distance from the mic is using pop-filter for studio microphone. You can do it yourself easily or get one on Amazon.
For instance, I bought this Dragonpad USA Pop filter the same time with my first mic.
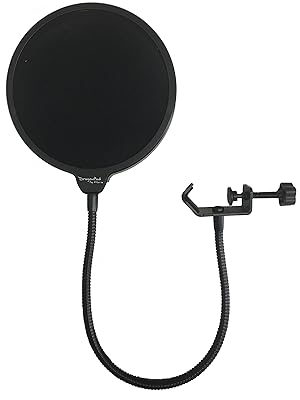
With this pop shield, you can effectively reduce the blast of air when you pronounce /p/ or /b/. As a result, your vocal will sound more balanced, nicer and it’ll have a more controllable bass response.
Another efficient mic technique is moving your mouth closer to the mic whenever you sing something intimate or using vocal fry, and moving it back a little bit when you sing high and louder notes.
Why? That’s the best way to level and nuance your vocal performance. But don’t move around the mic too much.
#3. Smartly optimize your microphone levels
“Maximize your microphone volume to get your voice loudest when recording.” Have you heard this advice before?
Forget it! It’s one of the worst things you can do with your mic. This way, your voice will sound unbalanced and distorted when you sing too loud. Plus, your mic may pick up more background sound.
So which is the best level for adjusting your microphone when recording vocals?
It depends. My advice is just putting your mic under the loudest level. Always.
Now it’s time for you to learn about the next vocal recording tips in home recording studio.
#4. Make yourself comfortable when recording
Let me ask you something:
Do you ever wonder why you can sing smoothly most of the times but whenever it comes to recording vocal, your voice will be shaky and distorted?
Yes! That’s the way your body tries to tell you: Relax, please!
Vocal recording, especially singing requires a wonderful combination of your breath, your mind, and the whole body.
But when you emphasize too much on your mouth, mic technique, timing, lyrics or script,… your head becomes too tense whereas you forget the rest body underneath.
Well, let make your recording session at home studio a marvelous time! No fear, no tension.
Every time you feel like you’re too tense, just dance or do some funny actions with your body. Whatever you want. Then try to imagine a whole picture and combine your entire body when recording.
It sounds simple but it works for most of the singers all time.
#5. Minimize the effect of studio ambient noise at any price
Last but not least, while cardioid condenser mic using in home studio tends to sensitively pick up sound directly from where the mic is pointing.
Here are actually what I do to reduce ambient noise when I record my voice:
1. Keep the computer as far the mic as possible, the computer itself can be a significant source of noise due to the fan, drivers,…
2. Keep the laptop right behind the mic will help maximize the off-axis rejection of the mic cardioid pickup pattern, also keep the laptop’s fan to the lowest setting possible.
3. The baffles should ideally be placed behind the vocalist, it’s highly recommended to baffle where the mic is pointing.
4. Turn off all unnecessary electrical devices.
5. Ask everyone to keep quiet, tell your dog/cat to go out for a while
6. Focus on emotional expression with your vocal instead of action, because the studio mic is very sensitive, even the small sound like your fingers or feet tapping can be recorded.
Well, in case you are a perfectionist like me, you probably want to hang some blankets around you and the mic.
It’ll look a little bit messy but it did work well for me when I started my home recording studio from scratch 3 years ago.
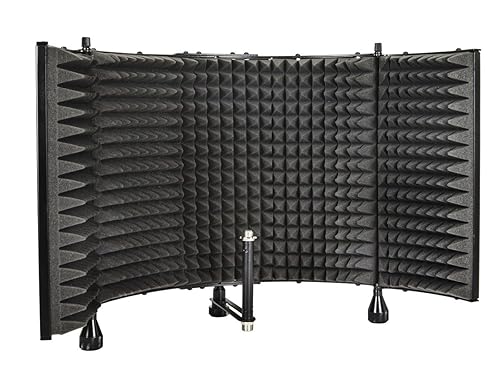
If you want to well-isolate your performance from studio ambient noise, you can consider things called microphone isolation shield on Amazon.
This is my favourite: Monoprice 602650. Don’t forget to place one behind you where the mic is pointing.
Conclusion
These 5 amazing vocal recording tips in home recording studio above are secrets for me to record in my small studio.
As you can see, the types of equipment I use are the most basic components that still help me to record at home with the highest efficiency and most reasonable cost.
I did build my home recording studio from the complete scratch and, I think I should share this with you to stop the misleading mentioned at the beginning of this article.
Basic equipment and smart tips, they’re the keys for a great video/audio at home recording studio.
Want to share your tips with us? Leave a comment in the box below.